We recently released a major update to Streaks Workout, with one of the new features automatic playback from Apple Music.
While the actual playback of songs from Apple Music is somewhat straightforward, the overall integration process is a little more complicated as it uses private keys, token generation, and a JSON API.
There are two key parts to using MusicKit:
- Finding content using the Apple Music API.
- Playing content using the MediaPlayer framework.
Note: At time of writing, you can access the Apple Music API from tvOS and watchOS, but you can only stream music from iOS.
There is a lot of information published by Apple about this topic, but I found it confusing at first trying to piece it all together.
Our Implementation
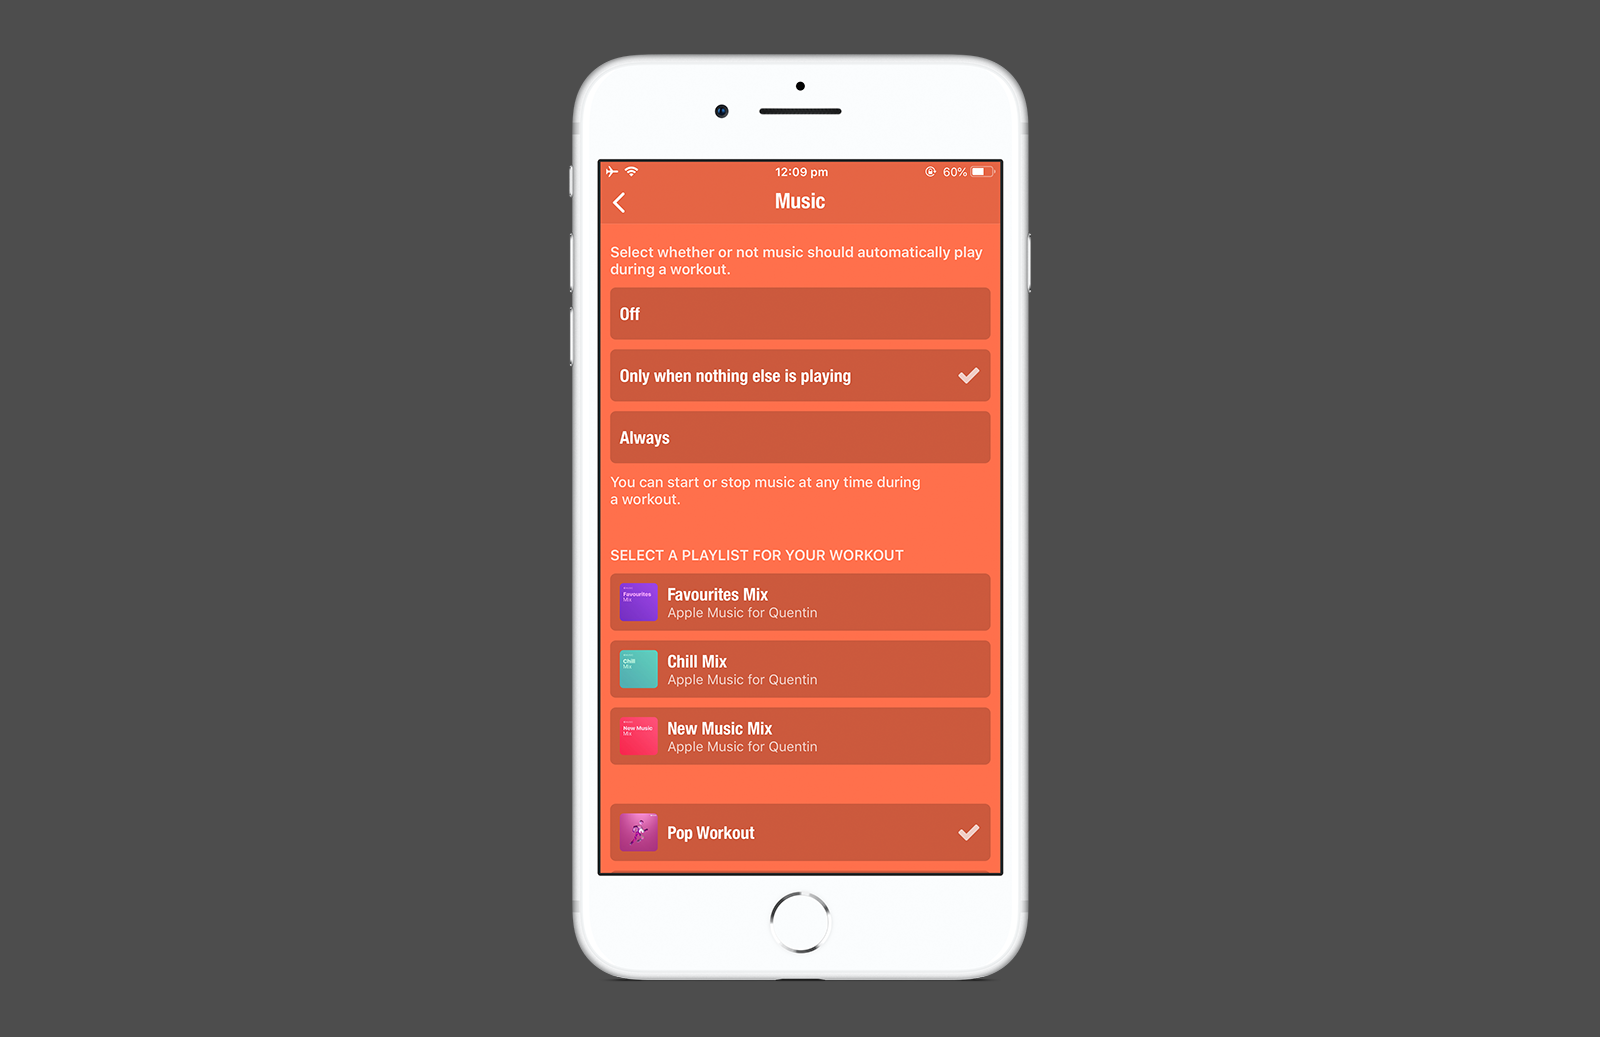
In Streaks Workout, the app uses Apple Music as follows:
- User enables the Apple Music option.
- The app finds workouts-related playlists.
- The user can choose which playlist is active.
- During a workout, the app plays the selected workout in shuffle mode.
Apple Music API
The Apple Music API is a web service that lets you search or lookup songs, artists, albums and playlists. You can also find information related to the current user, such as their recommended playlists.
As it's a JSON-based API, there is no framework built into iOS to access it: you must roll your own (or use a third-party implementation) using URL loading classes, such as URLSession.
Before that though, you need a developer token in order to access the API.
Generating a Developer Token
The developer token is a JWT (JSON web token). Information for creating one is available from https://developer.apple.com/documentation/applemusicapi/getting_keys_and_creating_tokens.
In short, you need to:
- Create a music identifier for your app in the Apple Developer Portal.
- Create a private key with MusicKey enabled and associate it with the music ID.
- Take note of the music ID, the team ID for your app, and download the private key.
Next, you can create a developer token using these three pieces of information.
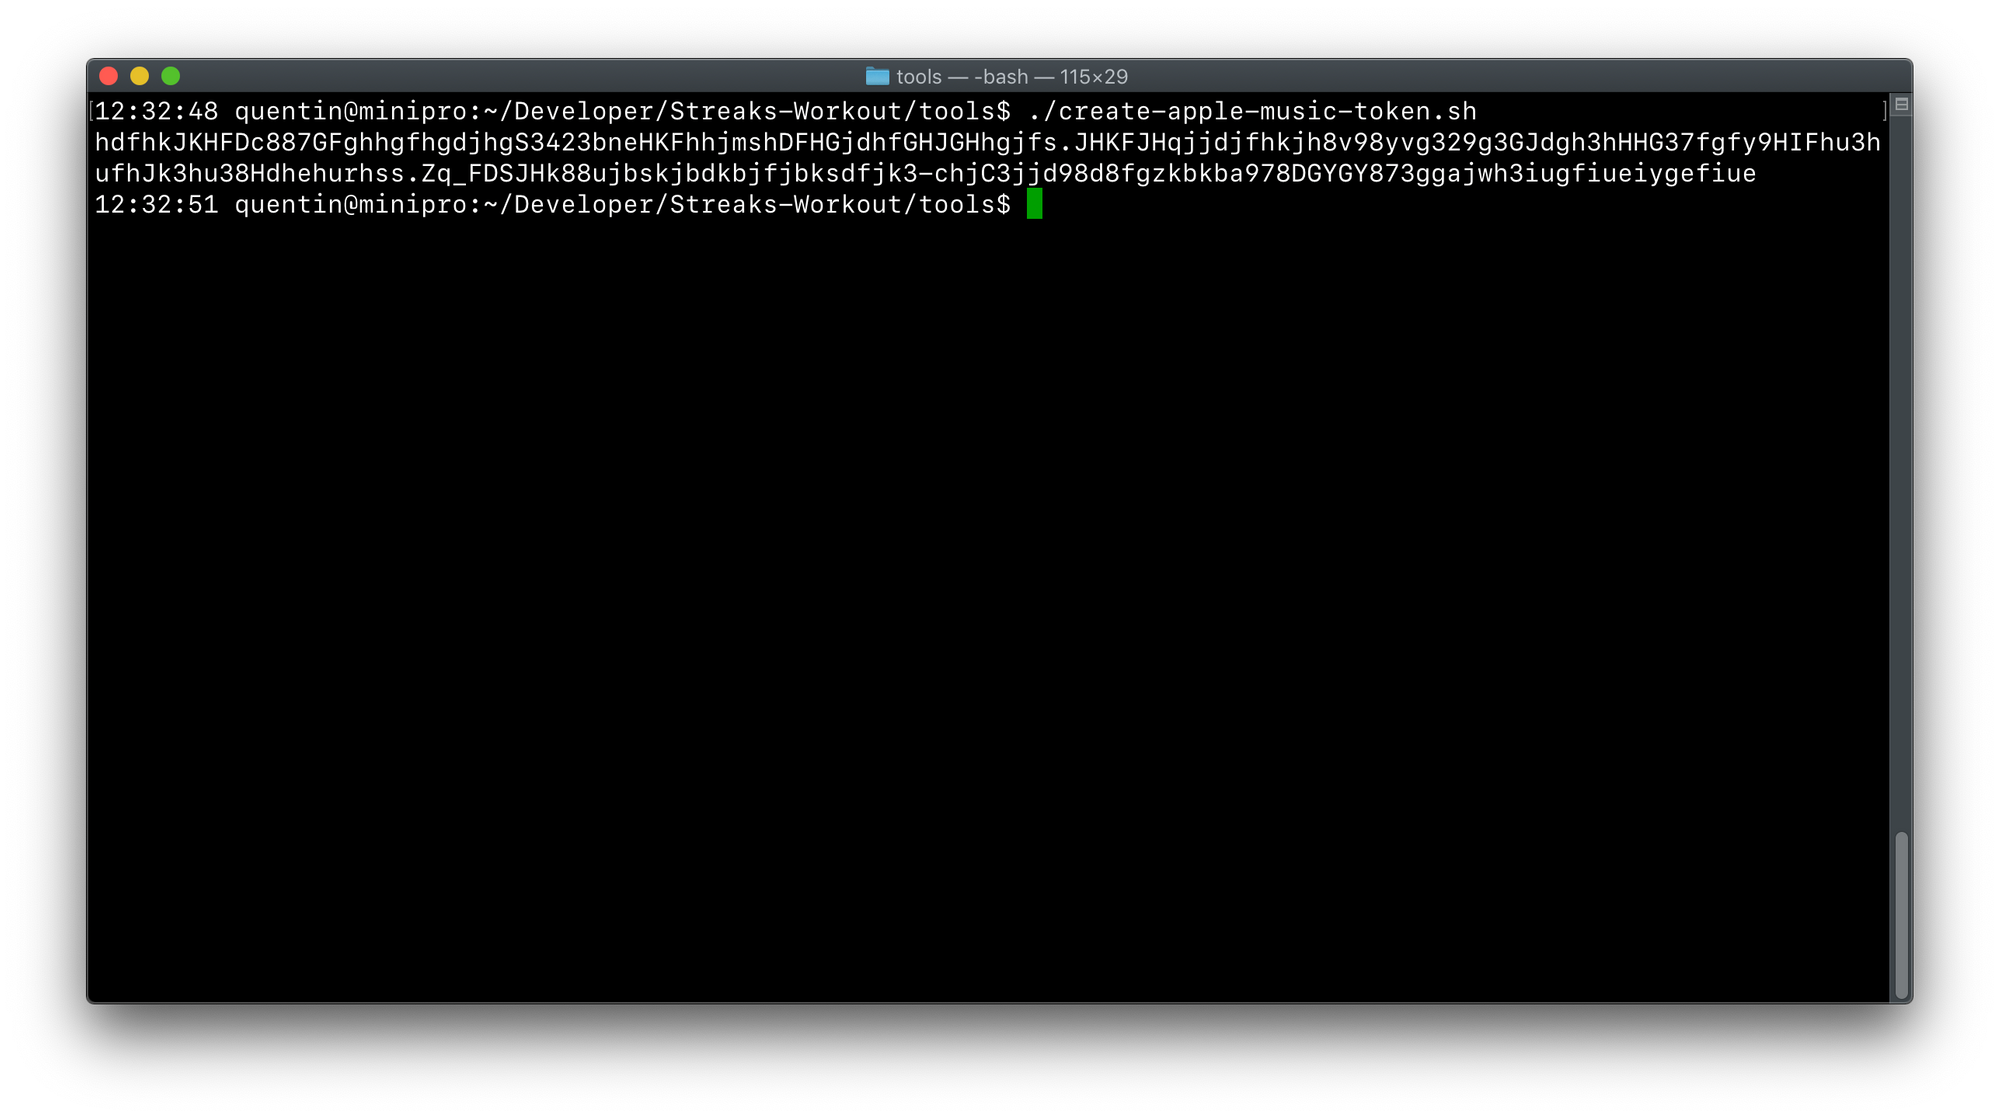
I used the ruby-jwt package to generate the developer token, as it was able to run on macOS without needing to install a bunch of dependencies.
Note: A developer token has a finite lifetime. The longest it can be valid for is 6 months. As such, it must be regenerated - either manually or automatically - periodically.
Once you supply the IDs and key to ruby-jwt, it will output a long string of characters. This is your developer token. You will use this directly in your iOS app.
Determining The User's Storefront
When querying the API, catalog requests are tied to a specific storefront (or country). You can determine this country code using the SKCloudServiceController class.
import StoreKit

let controller = SKCloudServiceController()

controller.requestStorefrontCountryCode { countryCode, error in
    // Use the value in countryCode for subsequent API requests
}
The only time the country isn't needed is when requesting information related to the current user, such as recommendations. In this case, you'd need a user token instead.
Determining the Current User's Token
Some API calls require a user token. This corresponds to the user of the current device.
import StoreKit

let developerToken = "..."
let controller = SKCloudServiceController()

controller.requestUserToken(forDeveloperToken: developerToken) { userToken, error in
    // Use this value for recommendation requests.
}
You may want to cache the user token for some period of time so you don't have to request it every single time (it could be slow).
Determining the API URL
There are a number of different API endpoints, depending on what you're trying to request.
For example, the following URL would be used to search for playlists. Note the use of countryCode that we determined earlier:
let searchTerm  = "workouts"
let countryCode = "us"

var components = URLComponents()
components.scheme = "https"
components.host   = "api.music.apple.com"
components.path   = "/v1/catalog/\(countryCode)/search"

components.queryItems = [
    URLQueryItem(name: "term", value: searchTerm),
    URLQueryItem(name: "limit", value: "25"),
    URLQueryItem(name: "types", value: "playlists"),
]

let url = urlComponents.url
In our implementation, we constructed the URL using URLComponents, since this is much more flexible and easier to modify as required.
More information about the API endpoints can be found at https://developer.apple.com/documentation/applemusicapi.
Performing an API Request
To perform a catalog search, you need the developer token and the storefront country code.
The developer token is included in the HTTP request by adding the Authorization HTTP header.
let url = urlComponents.url // Constructed above

var request = URLRequest(url: url)
request.setValue("Bearer \(developerToken)", forHTTPHeaderField: "Authorization")
If the user token is needed, it can be added in the Music-User-Token header.
request.setValue(userToken, forHTTPHeaderField: "Music-User-Token")
Note that in the example of performing a catalog search, the user token is not required.
Performing The Request
Once you've constructed the URL and build the URLRequest object, you can perform the request.
let session = URLSession.shared

let task = session.dataTask(with: request) { data, response, error in

}
As usual, you should perform error handling, but assuming the response is valid and data contains, JSON, you can parse it by converting it to JSON then extracting the results.
guard let data = data else {
    return
}

do {
    let json = try JSONSerialization.jsonObject(with: data, options: []) as? [String: Any]
}
catch {
}
I'm not going to cover extracting the specific data from this JSON object, but if you ouput it to your console you can see how the response is constructed, and the following URL contains much more info about all of the response objects:
You might have luck finding some pre-baked code to access the API, but for my own purposes I just needed search functionality, so crafted it exactly as I required.
Music Playback
After performing your calls on the Apple Music API, you might have determined the unique ID for the item you want to play (that ID might correspond to a song, an album, a playlist or an artist).
In order to play that item, there are several steps to take:
- Request access from the user to access their music library.
- Check that the user has an active Apple Music account.
- Optionally show them a "sign up to Apple Music" screen.
- Play the item.
Request Music Library Access
To request authorization, you can do so as follows:
import StoreKit

SKCloudServiceController.requestAuthorization { status in

}
Note that this call will crash your app if you don't have the NSAppleMusicUsageDescription key in your Info.plist.
To check if your app is authorized, you can check SKCloudServiceController.authorizationStatus() == .authorized.
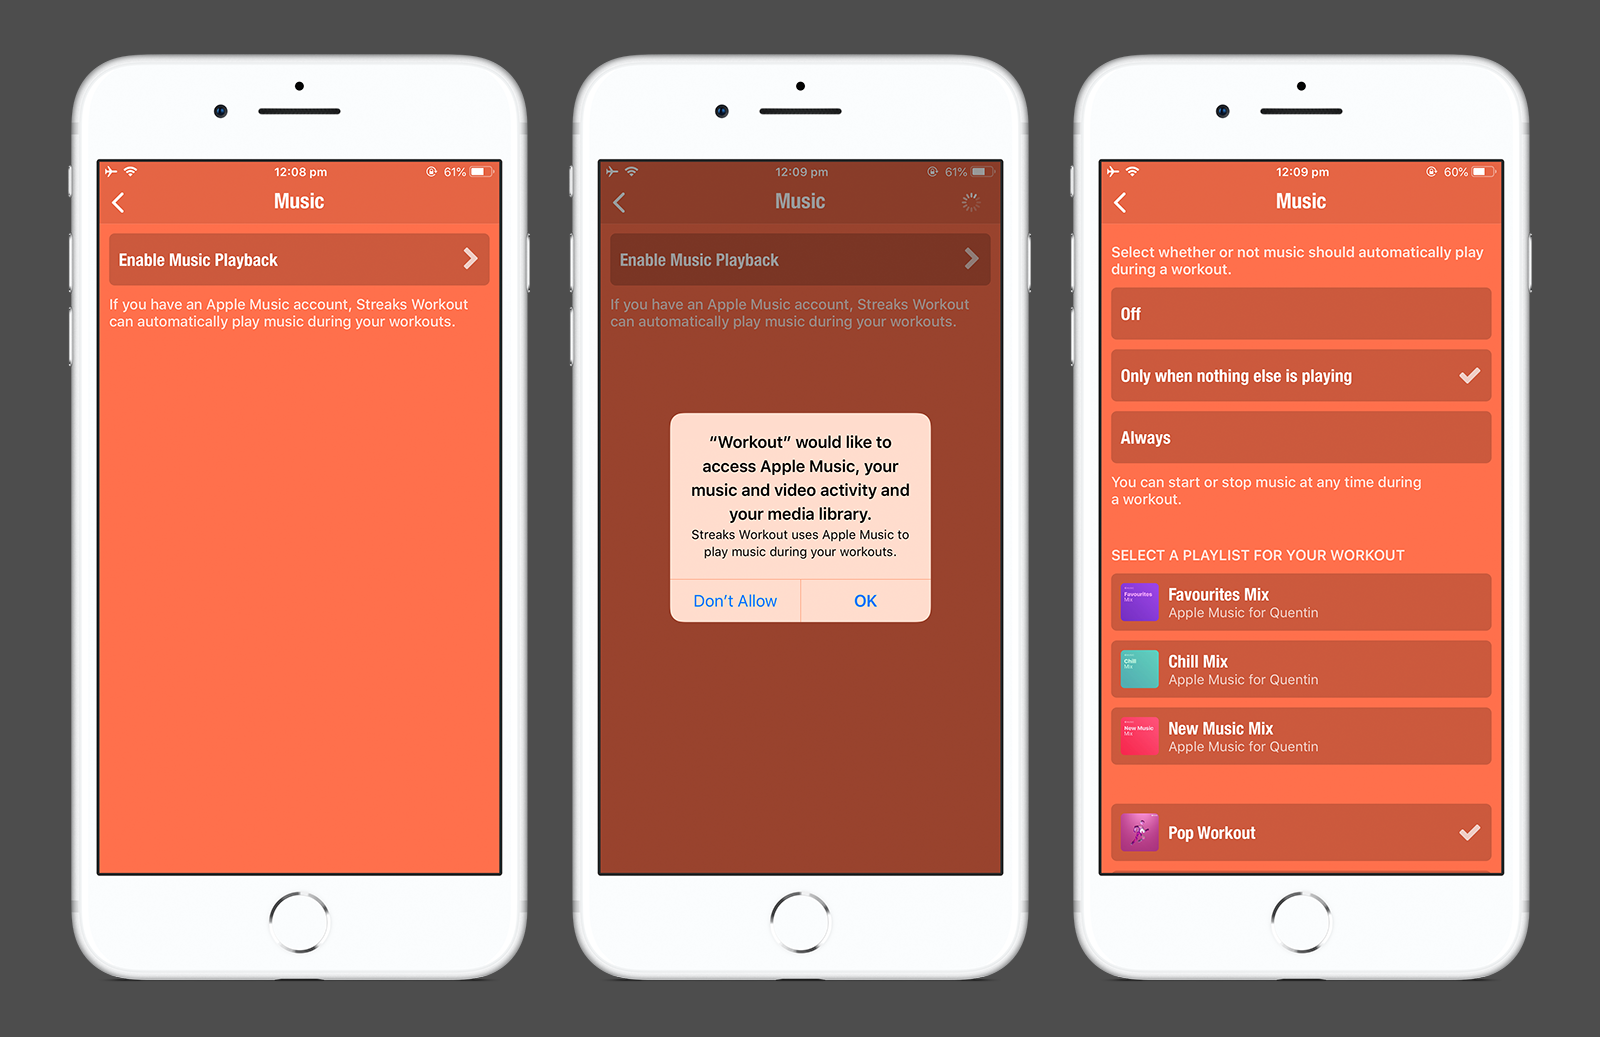
The above screenshot shows how we present Apple Music to the user. Once they tap OK, we can check if they have an Apple Music account and show options accordingly.
Check For An Apple Music Account
You can only play music from Apple Music if the user has an account. Once you've requested access to their music library, you can check the user's capabilities.
import StoreKit

let controller = SKCloudServiceController()

controller.requestCapabilities { capabilities, error in
    if capabilities.contains(.musicCatalogPlayback) {
        // User has Apple Music account
    }
}
Once you've confirmed they have an account, you can attempt to play music.
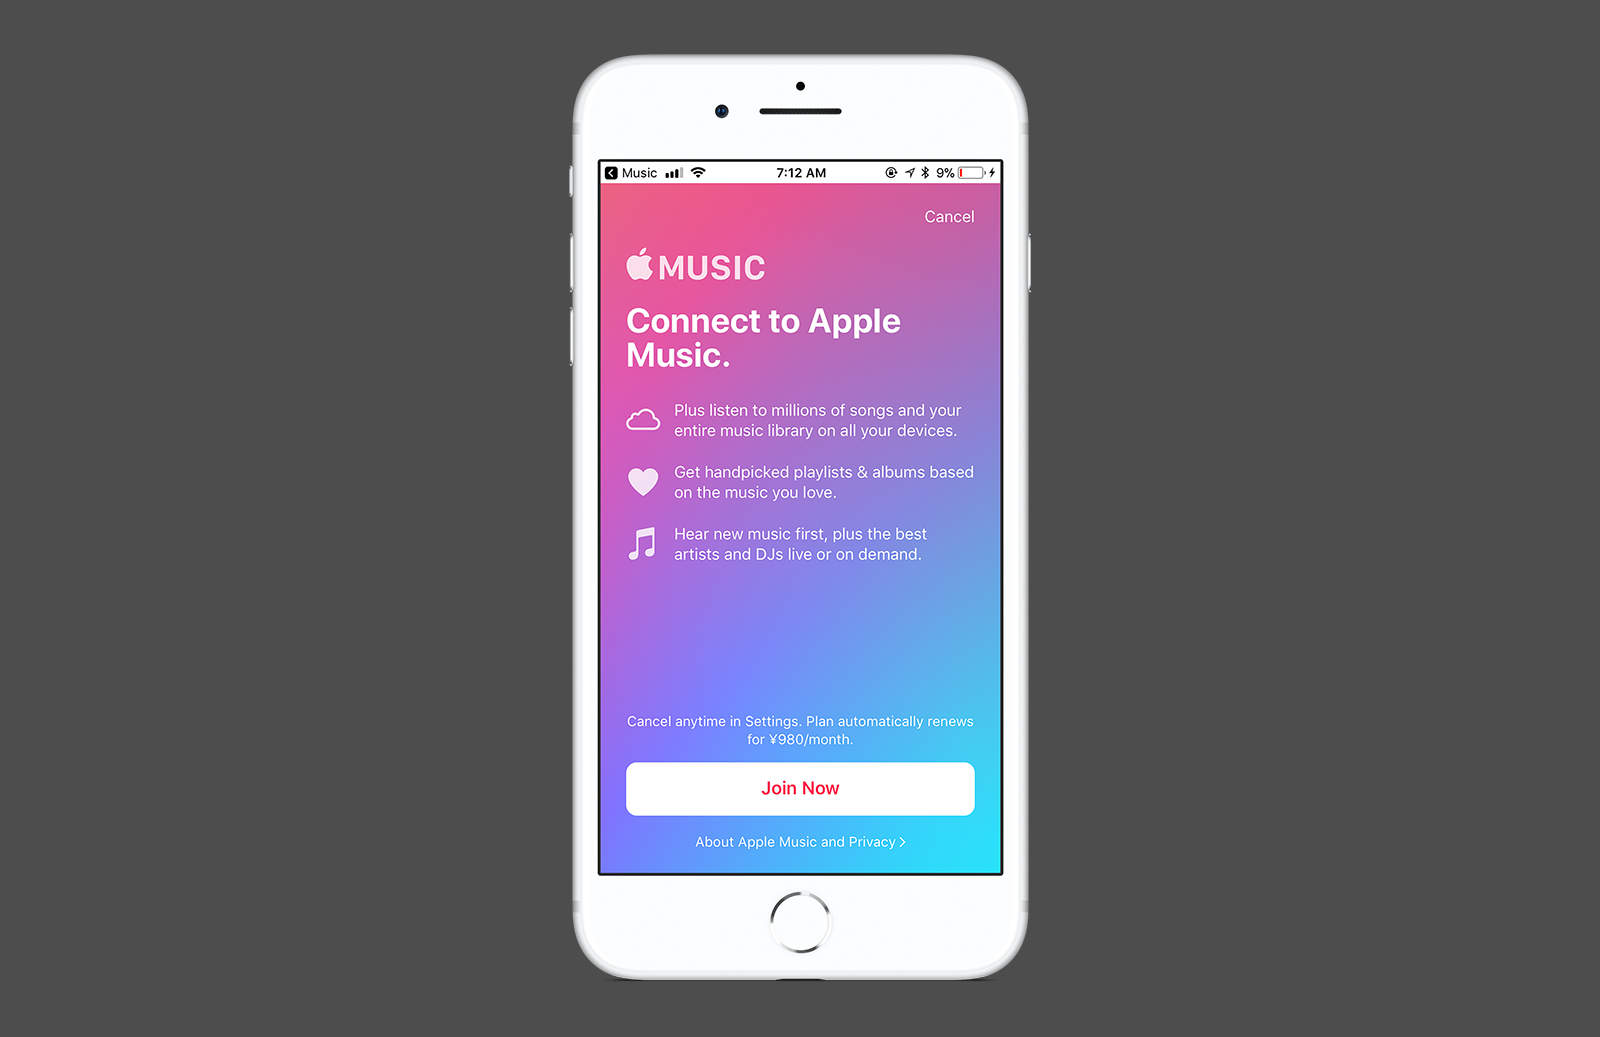
Sign Up To Apple Music
If the user doesn't have Apple Music, you can check if they're eligible to sign up. If so, StoreKit provides UI components to facilitate this process.
Building upon the previous example, check if they're eligible to sign up:
import StoreKit

let controller = SKCloudServiceController()

controller.requestCapabilities { capabilities, error in
    if capabilities.contains(.musicCatalogPlayback) {
        // User has Apple Music account
    }
    else if capabilities.contains(.musicCatalogSubscriptionEligible) {
        // User can sign up to Apple Music
    }
}
You can display the sign-up screen as follows. Note that if you have Apple affiliate account, you can include your affiliate token to get credit for the sale if the user signs up.
import StoreKit

class YourViewController: UIViewController {
    // ...

    let affiliateToken = "..."

    func showAppleMusicSignup() {
        let vc = SKCloudServiceSetupViewController()
        vc.delegate = self

        let options: [SKCloudServiceSetupOptionsKey: Any] = [
            .action: SKCloudServiceSetupAction.subscribe,
            .affiliateToken: affiliateToken,
            .messageIdentifier: SKCloudServiceSetupMessageIdentifier.playMusic
        ]

        vc.load(options: options) { success, error in
            if success {
                self.present(vc, animated: true)
            }
        }

    }
In addition to the .playMusic option, there is also .join, .connect, and .addMusic. Changing this will slightly adjust the wording and layout of the signup screen.
You can also implement the delegate method for this view controller to find out when the screen was closed:
extension YourViewController: SKCloudServiceSetupViewControllerDelegate {
    func cloudServiceSetupViewControllerDidDismiss(_ cloudServiceSetupViewController: SKCloudServiceSetupViewController) {
        // ...
    }
}
Playing an Item From Apple Music
At this stage, assuming the user has a valid Apple Music account, you can play the item you found in the earlier search request.
import MediaPlayer

let storeIds: [String] = [ "ID from earlier" ]

let player = MPMusicPlayerController.applicationQueuePlayer
let queue  = MPMusicPlayerStoreQueueDescriptor(storeIDs: storeIds)

player.setQueue(with: queue)
player.play()
As you can see, the actual playback was probably the easiest part!
Note that there are a number of different ways of doing certains things (many different API calls, different ways of achieving music playback, depending on your needs), but I've tried to keep it as straightforward as possible in this article.
It is not the most obviously function to implement in your app, but hopefully by laying out my experiences with Apple Music it makes the process simpler for you!